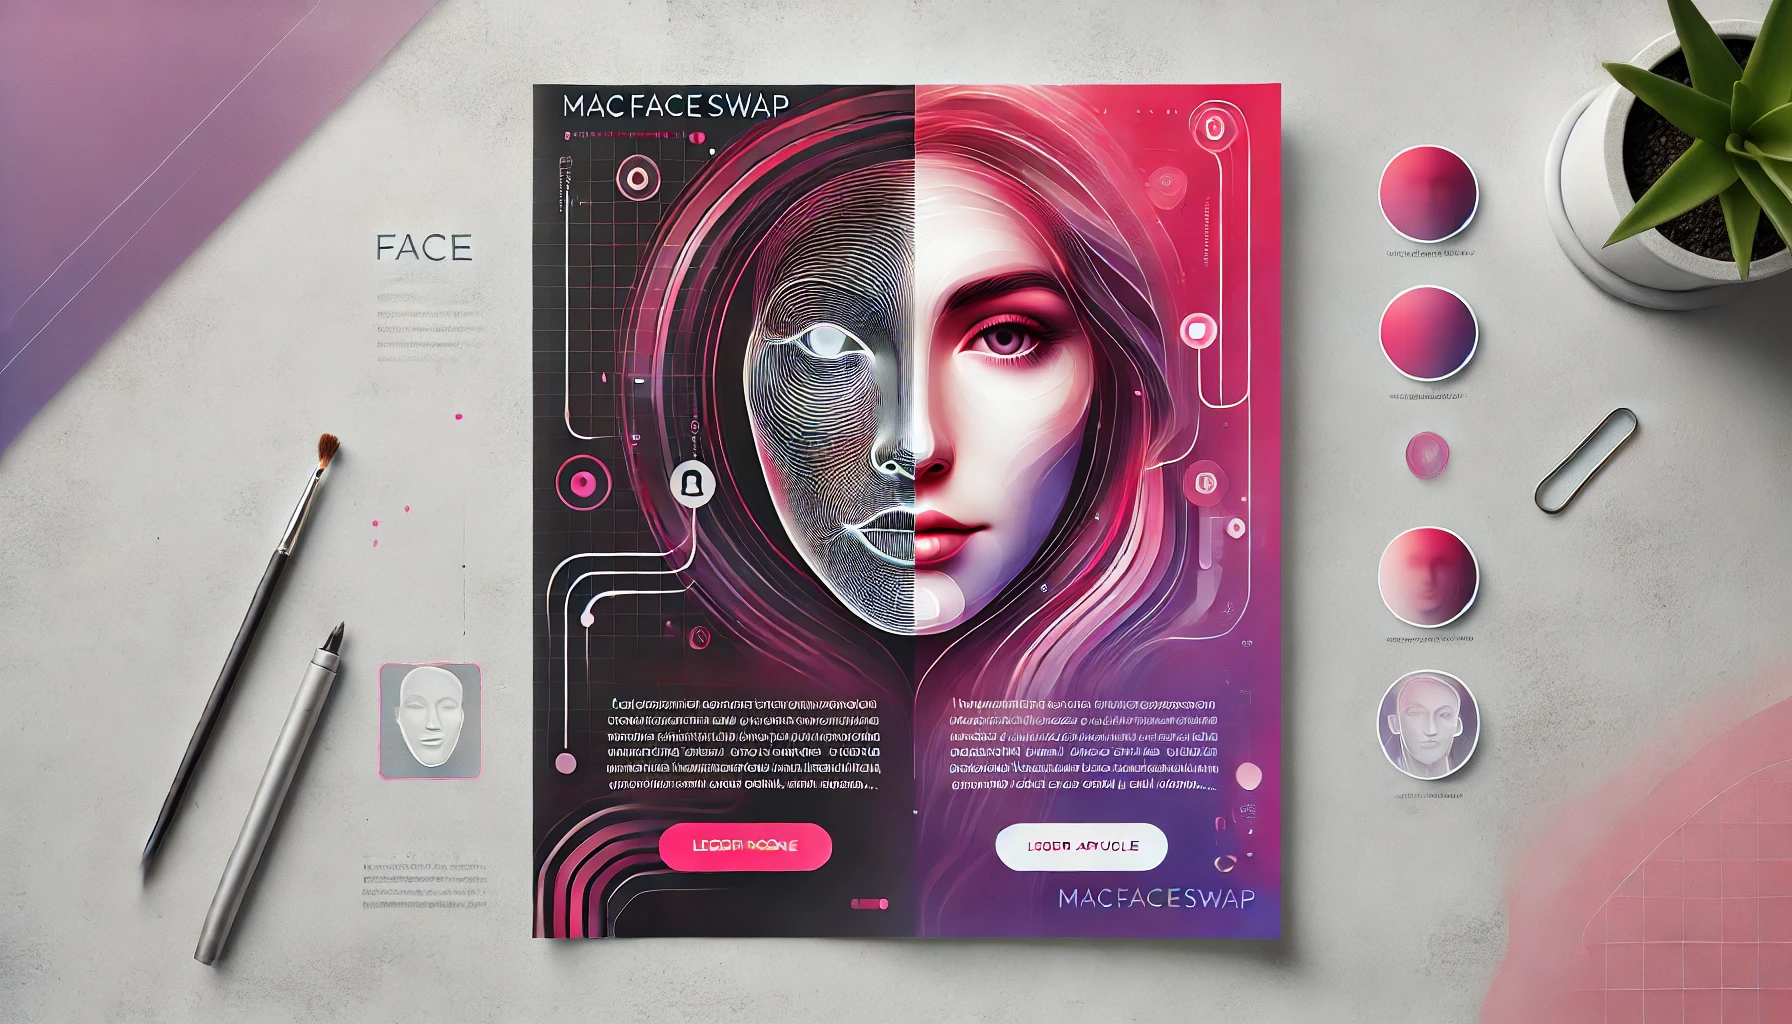
Getting Started with MacFaceSwap
Learn how to set up and use MacFaceSwap for the first time. This comprehensive guide covers installation, basic features, and tips for best results.
Installation Guide
Welcome to MacFaceSwap! This guide will walk you through the installation process and help you get started with basic face swapping.
System Requirements
- macOS 11.0 or later
- 4GB RAM minimum (8GB recommended)
- 2GB free disk space
- Intel or Apple Silicon processor
Installation Steps
- Download the latest DMG file from our website
- Double-click the DMG file to mount it
- Drag MacFaceSwap to your Applications folder
- Right-click the app and select "Open" for first-time launch
First Launch
When you first launch MacFaceSwap, you'll need to grant camera permissions if you plan to use real-time face swapping. The app will guide you through this process.
Basic Usage
Let's walk through the basic features of MacFaceSwap:
1. Selecting Source Images
Click the "Source Face" button to select the face you want to swap from. This can be any clear, front-facing photo.
2. Real-time Mode
Toggle "Real-time Mode" to use your webcam as the target. The app will automatically detect faces and apply the swap in real-time.
3. Photo Mode
For static images, use "Photo Mode" to select both source and target images. This mode often produces the most precise results.
Tips for Best Results
- Use well-lit, front-facing photos for best results
- Ensure faces are clearly visible and not obscured
- Similar face angles between source and target work best
- Higher resolution images generally produce better results